How to Roll a Cross Joint
If you were to make a list of the best stoner movies of all time, Pineapple Express has to be up there.
One of the best scenes involves “the apex of the vortex of joint engineering.” James Franco shows Seth Rogan his cross joint, the alleged future of joint smoking. This is it, man. This is what your grandchildren are going to be smoking.
Since Pineapple Express came out, a lot of people have tried and failed to recreate the scene and make their own cross joints. We’ve figured out the secret to successfully rolling a cross joint and we want to share our knowledge with all of you.
And about the rumours that the guy that designed the Golden Gate Bridge also created the cross joint? Well…it hasn’t been disproven yet.
How to Roll a Cross Joint
Step One: Gather Your Materials
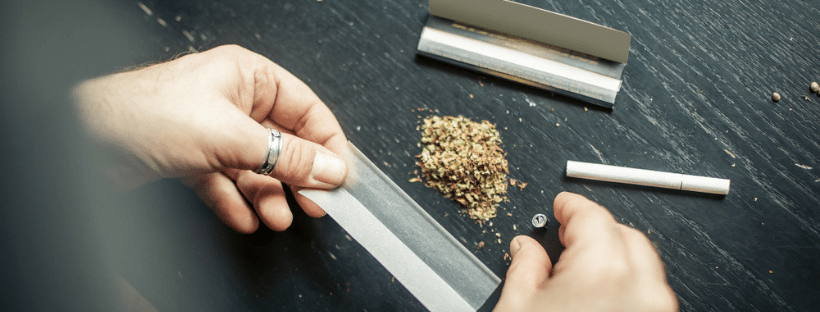
Ordinary rolling papers won’t do the trick when you’re making the apex of the vortex. Grab some king-size rolling papers for this baby. You’ll need at least four (you’ll see why at the end.) Scissors will also be very useful.
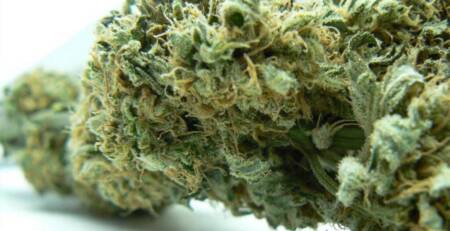
You’ll also need some weed (duh) that is all nice and ground-up from your grinder.
The Pineapple Express strain is a sativa-dominant hybrid that helps users focus and offers some relaxation from various types of pain. If that sounds good to you, you might as well get in the spirit and pop some Pineapple Express into your joints. But any strain, indica, sativa, or hybrid, will do.
If you like to use filters, you’ll only need one. The father of cross joints, Seth Rogan, uses a bit of cardboard rolled up like a filter at the end of his cross joint. Why? We’re not sure, but it’s worth the try. (Fun fact: Rogan rolled 100 cross joints with his co-writer, Evan Goldberg, to film the iconic scene in Pineapple Express. They were the only people on set that knew how!)
You’ll also need a safety pin. Some people also use a needle. As long as it’s small enough to poke a hole through both joints, you’ll be okay.
Oh yeah. You’ll also need three lighters.
Step Two: Roll a Big Ol’ Joint
If you don’t know how to roll a joint, we can help you out. The trick to making a successful cross joint is to make a cone out of your first joint. If you’re using a filter, you’re going to want to add more weed to the side without the filter. If you don’t use filters, just pack one side with more weed than the other.
Securely twist the fat side and set this big boy aside.
Step Three: Roll A Small Lil’ Joint
If you still need practice rolling joints, you’re in luck! You have to roll another one!
Make this joint a bit smaller than your first one, because it’s going to need to fit inside the big joint you just rolled. You’re also going to want an even distribution of weed throughout the whole joint – this one should be straighter than your first joint.
Don’t add a filter to this joint. You’re going to want to securely twist both ends of the joint. After all, you’ve got to light both of these ends (and the end of the big joint) at the same time so the smoke converges and creates a trifecta of joint-smoking power.
Step Four: Do a Little Eyeballing.
You don’t want to poke holes in your cross joint willy-nilly. Find the best place to cross your joints. The small joint should be even on both sides, and the measurement of each side should be the same as the small size of your big joint.
Math is hard, so no need to grab a ruler. Just play around with different lengths until you find one that speaks to your heart.
Step Five: Poke Some Holes
You’ll need to poke two holes: one through the big joint and one through the small joint.

Poke a hole in the big joint so you can just fit the small joint inside; it may require a bit of work to open up the hole, but we believe in you. Once you have a space for your small joint, poke a little hole in the small joint. Just one hole will do. This hole will allow you to inhale the smoke from your tiny joint.
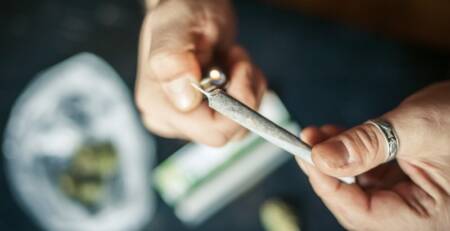
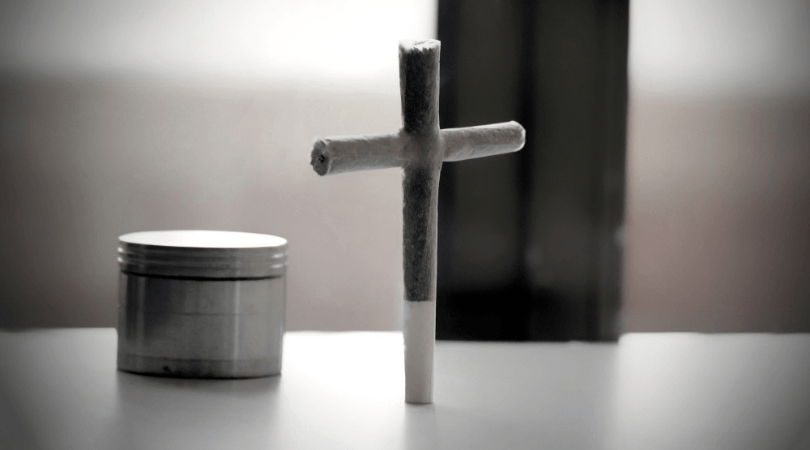
Step Six: Cross the Joints
Wiggle your small joint into the hole you made in the big joint. It might require some twisting and turning, so be gentle and patient. Once the hole you made in the small joint is securely inside the big joint, you’re almost finished!
Step Seven: Seal That Baby Up!
This is where your scissors and last few rolling papers come in. If your joint doesn’t look perfect, or there’s a bit of room left in your big hole, don’t worry. The last step of rolling a cross joint is simply sealing it up and keeping it air-tight.
Take your scissors and cut just the long glue strips from your rolling papers. Use these glue strips to seal up your cross joint. We like to wrap them around the area where the two joints meet and form a few X’s. Other people like to lay them flat and across the small joint. Play around with it. Whatever you do, make sure there isn’t a place for air to escape when you do light your joints. You want as much smoke as you can get.
Step Eight: Grab a Friend
“I can’t even light this thing on my own.”
The best way to smoke a cross joint is by lighting all three ends at one. That means you’ll need a buddy to help you. It is possible to light all three ends on your own, but most likely you’ll end up lighting the side of the little joint, and that’s no fun. Call up your best stoner buddy and enjoy recreating that scene from Pineapple Express!