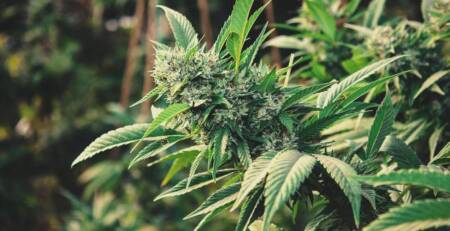
How to Dry and Cure Cannabis
The legalization of cannabis in Canada has made growing and smoking your bud easier than ever. Individuals can legally grow up to four plants at home (in most provinces and territories,) and you can order seeds right to your door.
It can take a few months for your cannabis plants to be ready. Once you start to harvest your plants, the hard part is over – right?
Not exactly. Once you’ve harvested a good chunk of flower, you still have a few more steps before you can smoke it, bake it into edibles, or create your own cannabis concentrates. In this post, we’re going to go over the crucial steps of drying and curing your harvested cannabis.
Why Should You Dry and Cure Cannabis?
You Will Get the Most Out of Your Weed
Curing your weed will preserve both the terpenes in your cannabis and the cannabinoids. Cannabinoids like THCA and THC are the magic chemical compounds that help you get high. You want as many of those as possible.
Terpenes, like linalool or pinene, will give your weed its unique taste and flavour. Different strains have different levels of terpenes, but you still want the most that you can get when you harvest your weed. Moist, fresh weed is more likely to grow mold and bacteria that attack terpenes; drying and curing helps to protect them.
Your Weed Will Taste Better
Sugars on your plant will also affect taste – and they play a larger role in growing cannabis than you might think. Unfortunately, purely cured weed will cause these sugars to break down. Without these sugars, you’ll experience a harsher smoke when you light up. Keep things sweet by curing your cannabis properly.
You Can Preserve Your Weed
Four plants can produce a surprising amount of bud, especially if you’ve grown it in the right conditions. Once you dry it and cure it properly, you can leave it in an airtight container for up to two years. If you skip these steps, mold and bacteria will get to it in a manner of weeks. You don’t want that to happen, especially since you’ve spent a few months growing the plant in the first place.
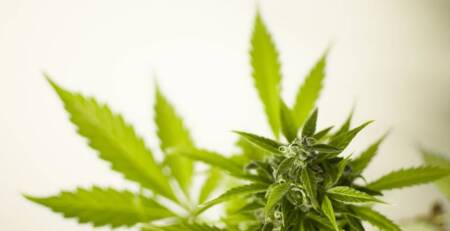
How To Dry Cannabis
What You’ll Need:
- Drying racks
- Wire or wood coathangers
- Humidifier or air purifier
- Space to dry your cannabis
Directions:
In order to create the best environment for your buds, set up a dark room with humidity between 45-55%. Temperatures should stay between 60-70°F. The room should not only be humid, but it should also have good airflow or ventilation. Your grow room should have similar conditions, so if you have the space, you can dry your cannabis there.
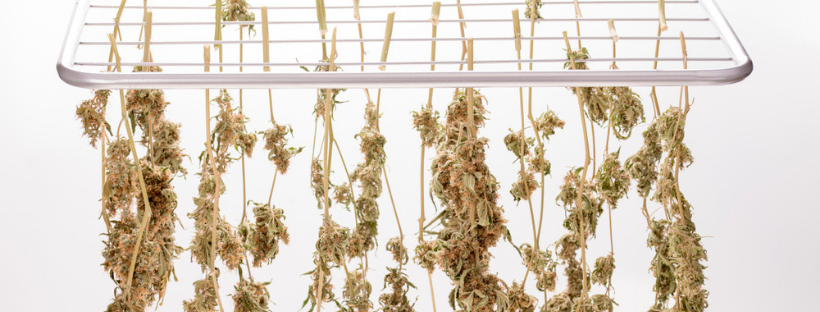
If you have a drying rack, you’ll need to remove the stems from your bud before they go on the rack. Then, you can let your room do the rest of the work.
If you don’t have drying racks, don’t worry. You can simply hang your buds upside down from the coathangers (keep the branches long so it’s easier to tie your plants to the hangers. We recommend leaving the branches at 12-16 inches.)
It will take at least three days for signs of drying to appear. The more humidity you have in the room, the longer the drying process will take. Most cannabis growers can get good, dry bud within a week of harvesting their plants, but the process can take up to 12 days.
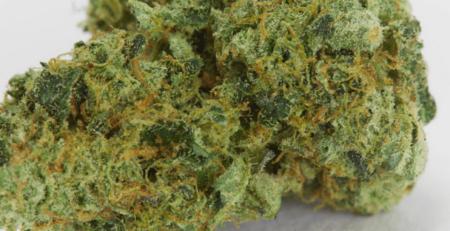
You’ll know your plants are dry enough when they snap off of the branches without any folding or bending. The flowers should feel crunchy and dry.
Now your cannabis is dried and ready for the final cure. Remember, this step will give your bud the best flavour. Don’t skip it!
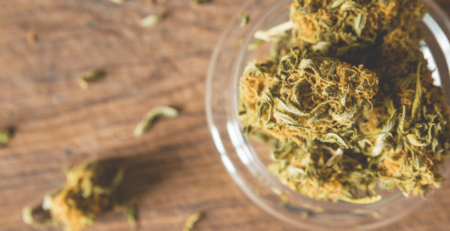
How to Cure Cannabis
What You’ll Need:
- Wide-mouth glass jars or wide-mouth clay jars
- Timer or calendar
- Humidifier or air purifier
Directions:
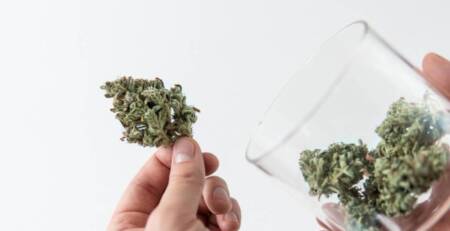
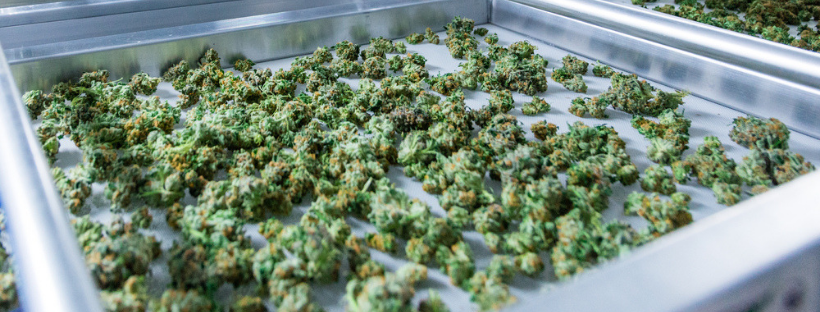
Once you’ve snipped the buds from their branches, place them in your jar. Don’t overstuff your jars; leave a little bit of room for air to flow and the cannabis to cure. You’ll notice that throughout the process your buds may shrink further.
Secure the jars with a tight lid and leave them in your grow room. If you’re harvesting a lot of cannabis over a period of a few days or weeks, label your jars so you know when they were first added to the jar and when they were harvested.
The curing room should be slightly more humid than the drying room. Crank the humidity up to 60% and keep the temperature around 70°F. The room should remain dark as your buds cure.
During this time, your buds will continue to collect moisture. You’ll need to check up on – and continue to dry out – your buds every day. For the first few days, open up the jars and let air move through the jars for about 20 minutes.
After a few days, you can leave the jars be for two days at a time. Continue to check on your buds and leave them out to dry for a few minutes. You’ll start to notice that the buds become more and more dry with every check you do. If this isn’t happening, you might need to leave the jars open or remove your bud from the jars for a longer period of time.
Keep this routine going for at least 2-3 weeks. If you’re only growing four plants at a time, you’ll probably blaze through your bud in enough time that you don’t have to worry about long-term storage. Properly cured cannabis can stay in those glass jars for a few months (up to two years!) without any problems. But as we said, you’re probably going to want to smoke it by that time.
Drying and curing cannabis is a simple process that helps to preserve your weed, but it does take a bit of time and scheduling. (Will you remember to check on your buds every day?) Don’t skip these crucial steps – after all, you spent all this time growing your bud and you deserve the best, most potent weed that you can get!